
A high-converting tour description pairs a vivid, sensory opening with clear logistics and a single strong call to action. The must-have elements are a headline that hooks, a short overview, three to five highlights, a concise itinerary, inclusions and exclusions, meeting point and duration, accessibility and fitness notes, photos, and one clear CTA. The templates and rewrite examples below show exactly how to combine them.
TL;DR:
- Clear logistics, including start time, meeting point, and duration, must be explicitly stated to prevent confusion and reduce refund requests.
- Descriptions should focus on sensory details and action verbs, allowing travelers to visualize and mentally experience the trip, increasing booking intent.
- Including specific highlights, a brief overview, and a storytelling itinerary helps travelers understand what to expect and builds trust.
- Accessibility information, such as mobility options and age or fitness requirements, belongs in the main description to broaden market reach and avoid reputational risks.
- Optimize descriptions by testing different headlines, highlights, and CTAs over time, tracking key metrics like click-to-book rates to improve conversion.
Table of Contents
- What a tour description does and why it decides bookings
- The core elements every listing needs
- Writing techniques that turn facts into a sale
- Templates and before/after rewrites you can copy today
- Formatting, keywords, and length that actually convert
- Accessibility, safety, and honest logistics
- Testing and optimizing your descriptions over time
- Publisher perspective: a provider's note on getting listings live
- How Im-at helps you publish and test your descriptions
- Sources
- FAQ
What a tour description does and why it decides bookings
A tour description is the written pitch that sits between a traveler's curiosity and their decision to pay. It answers two questions at once: what will happen, and how will it feel. Get both right and the description becomes the final nudge before checkout; get only the logistics right and the listing reads like a bus schedule.
Research on travel reviews backs this up. A large study of online travel reviews found that combinations of sensory, behavioral, affective, and intellectual details jointly shape travelers' intention to book, with sensory and intellectual language producing the strongest gains because it lets readers mentally rehearse the trip before committing.
A good description works because it:
- Removes uncertainty about what is included and what the day will look like.
- Lets the reader picture themselves on the trail, in the kitchen, or on the boat.
- Signals trust through specific, checkable details rather than vague promises.
The core elements every listing needs
Treat this as a pre-publish checklist. Skipping any one of these tends to show up later as cart abandonment or refund requests.
Headline and opening line
- Lead with the experience, not the category: "Sunrise Kayak Through Mangrove Channels" beats "Kayak Tour."
- The first sentence should do double duty: set a scene and state who the trip is for.
Overview and highlights
- Write a one- to two-line overview that answers what, where, and why now.
- List three to five highlights as short phrases, each naming a specific moment, not a category ("hand-feed rescued lemurs," not "wildlife viewing").
- Order the itinerary chronologically but leave room for surprise: describe the shape of the day without giving away every stop.
Logistics and trust signals
- State inclusions and exclusions explicitly (meals, gear, transport, gratuities) since ambiguity here is a leading cause of disputes and low ratings.
- Give the meeting point, start time, and duration in plain terms, not ranges that force the reader to guess.
- Note what to bring, and keep it short: three or four items, not a packing list.
- Add fitness level, age minimums, and accessibility notes near the logistics, not buried in a policy page.
- Place one guest quote or review snippet close to the highlights, and end with a single, unambiguous call to action.
Writing techniques that turn facts into a sale
Start with a persona, not a demographic. Decide whether this description is written for a family with young kids, a solo hiker, or a couple celebrating an anniversary, then write every sentence to that one reader using "you" language: "You'll feel the spray off the falls before you see them."
Sensory detail is the difference between a listing and an experience. Build in specifics for sight, sound, smell, and touch: the smell of woodsmoke at a mountain lodge, the crunch of gravel underfoot, the hush before a guide points out a hidden waterfall. The Scientific Reports study on travel reviews found that sensory language combined with an intellectual or cultural angle, such as a bit of local history, tends to lift travel intention more than sensory detail alone.

Verbs matter more than adjectives. "You'll paddle past egrets at dawn" implies participation; "beautiful birdlife" just describes scenery. Choose action verbs over static ones wherever the itinerary allows it.
A few rules keep the copy honest and readable:
- Avoid absolute claims like "guaranteed sightings" when nature or logistics can't promise them.
- Cut industry jargon a first-time traveler wouldn't recognize.
- Keep each sensory detail tied to a real moment in the itinerary, not a generic mood word.
Pro Tip: Write the sensory details last, after the logistics are locked, so the vivid language never contradicts what actually happens on the trip.
Templates and before/after rewrites you can copy today
Three lengths cover most listing formats. Adapt the persona language (family, cultural, adventure) inside the same skeleton.
- Short template (50 to 80 words), built for OTA listings: Headline, one-sentence hook, three highlights as a phrase list, one logistics line (duration, meeting point), one CTA.
- Medium template (120 to 200 words), for product pages: Headline, two-sentence overview, four to five highlights, a short itinerary paragraph, inclusions and exclusions line, accessibility note, CTA.
- Long template (300 to 600 words), for landing pages or flagship experiences: Headline, story-driven opening paragraph, full itinerary broken into time blocks, highlights list, inclusions and exclusions, meeting point and what to bring, accessibility and fitness section, a guest quote, and a closing CTA paragraph.
Before: "Boat tour of the bay. See dolphins and enjoy the scenery. Snacks included." After: "Glide across the bay at sunrise as dolphins surface alongside your boat. You'll snack on fresh fruit while the guide points out hidden coves only locals know."
Before: "Walking tour of the old town. Learn about history." After: "Follow cobblestone lanes where merchants traded spices six centuries ago, pausing at a hidden courtyard for the story behind its cracked mosaic floor."
| Template | Word count | Best use |
|---|---|---|
| Short | 50 to 80 words | OTA listings and search results |
| Medium | 120 to 200 words | Standard product pages |
| Long | 300 to 600 words | Landing pages and flagship experiences |
Formatting, keywords, and length that actually convert
Short paragraphs and scannable structure matter as much as the words themselves. Keep sentences under 20 words where possible, and break the itinerary into small chunks a tired traveler can skim on a phone.
- Place your primary keyword phrase in the title, the opening sentence, and again naturally within the first 100 words.
- Write a meta description that repeats the hook in under 160 characters.
- Match length to purpose: 50 to 150 words for a quick marketplace listing, 150 to 300 for a standard OTA page, and 500 to 1,200 for a landing page built for search visibility.
- Caption every photo with a specific detail ("Guide pointing out a nesting osprey") rather than a generic label like "tour photo."
- Add a small CTA near the gallery, not only at the very bottom of the page.
Accessibility, safety, and honest logistics
Accessibility details belong in the main description, not a hidden policy page, since travelers often search for them before booking. UN Tourism and partner organizations note that addressing accessibility broadens market reach and reduces reputational and legal risk for tourism businesses, a point worth weighing against the cost of adding a few sentences of detail.
- State mobility access (steps, terrain, wheelchair suitability) plainly.
- Note sensory considerations, fitness level, and any minimum age.
- Mention medication or allergy-relevant details where food or altitude is involved.
- Keep cancellation and refund terms visible near the booking button, not buried in fine print.
Testing and optimizing your descriptions over time
Treat the description as a living page, not a one-time write-up.
- Track click-to-book rate, booking conversion, time on page, and cart abandonment as your core metrics.
- Run one change at a time: headline, opening sentence, CTA placement, or hero image.
- Read guest reviews and post-trip surveys for language patterns you can fold back into the copy.
- Give each test two to four weeks so you capture a full booking cycle before judging the result.
Publisher perspective: a provider's note on getting listings live
Good copy only earns bookings once it's published somewhere travelers are already searching. That's the practical bridge between writing the description and getting it in front of people ready to book.
— Mikahil
How Im-at helps you publish and test your descriptions
Providers can list an experience quickly to reach travelers actively searching nearby. Once your description is written, publishing it where bookers are looking is the fastest way to see whether it converts.
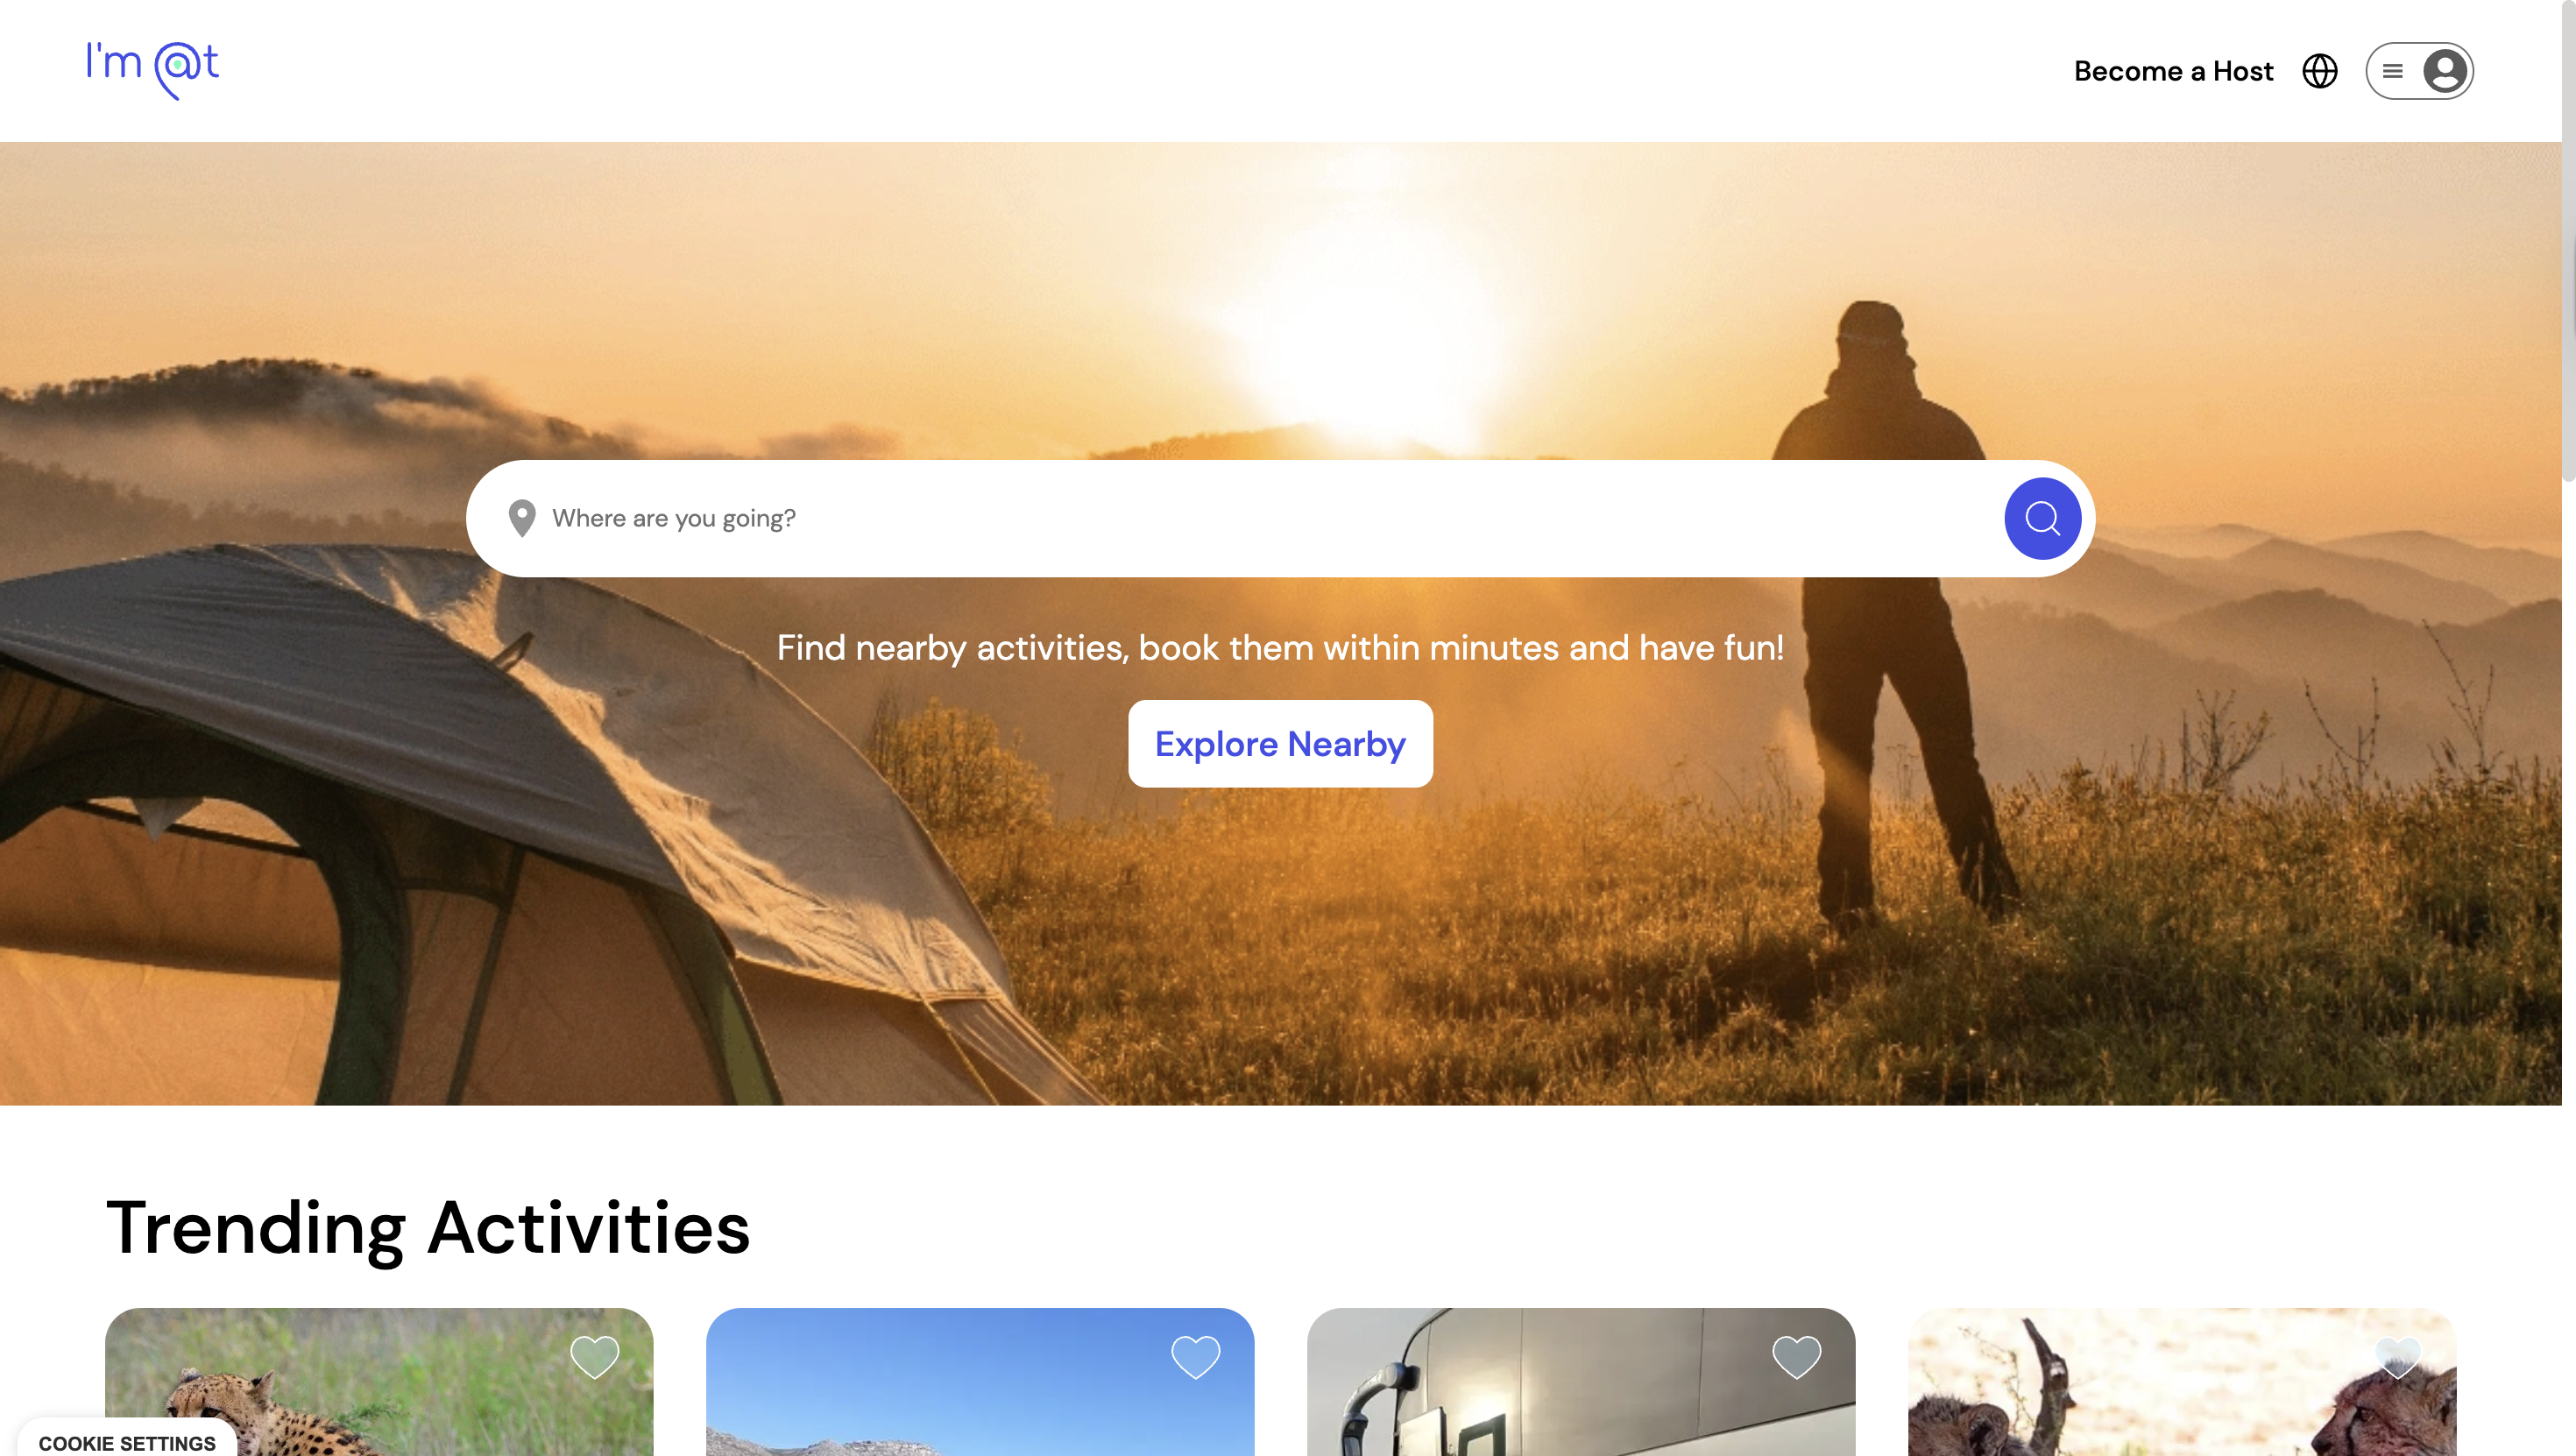
- List guided tours, trips, and workshops without a long setup process.
- Put your listing in front of travelers looking for activities in your area.
- Update your description anytime as you test headlines, highlights, and CTAs.
Try one of the templates above on your next listing and track how it performs on the Im-at landing page.
Sources
- Travel experiences documented in online reviews influence travelers’ travel intentions | Scientific Reports
- UN Tourism joins AWE in delivering practical solutions for more accessible and inclusive tourism businesses
FAQ
How do you write a travel description?
Start with a headline that names the specific experience, add a one- or two-line overview, then list three to five highlights using sensory and action language. Close with clear logistics and one call to action.
How do you explain a tour in a description?
Describe the shape of the day chronologically, from meeting point to major stops to the ending, while leaving out minor details that would spoil the surprise. Pair each stop with one sensory or emotional detail so the reader can picture being there.
How do you introduce yourself as a tour guide?
Keep the introduction short and specific: your role, your familiarity with the route or subject, and one detail that shows why you're a good fit for this particular group. Save deeper personal storytelling for the in-person introduction rather than the listing itself.
What is the job description of a tour guide?
A tour guide leads groups through an itinerary, shares relevant history or context, manages timing and safety, and answers questions along the way. The written listing should reflect these responsibilities briefly, focusing on what the guide will actually do during the experience rather than a full duties list.